OpenCV
OpenCV is a popular framework for image and video processing. On this tutorial, we show how OpenPifPaf can integrate with a workflow from OpenCV. OpenPifPaf also comes with a video tool for processing videos from files or usb cameras that is based on OpenCV, openpifpaf.video.
Source
The cv2.VideoCapture class supports an enourmous amount of sources
(files, cameras, rtmp, etc, …) and abstracts the details away. Here, we will
just pass in a single image.
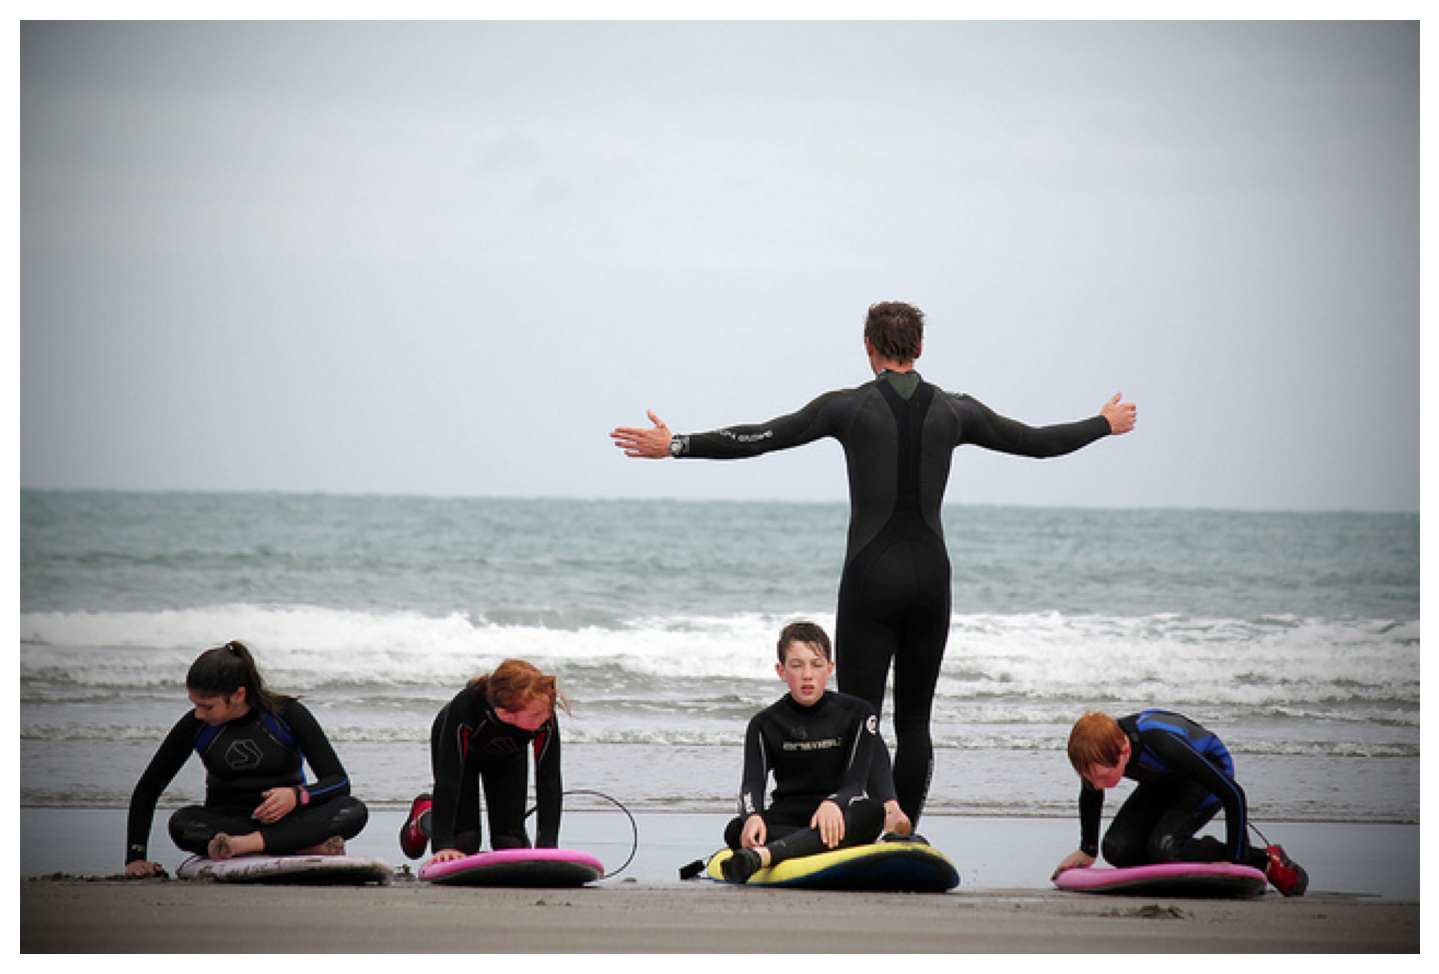
capture = cv2.VideoCapture('coco/000000081988.jpg')
_, image = capture.read()
image = cv2.cvtColor(image, cv2.COLOR_BGR2RGB)
with openpifpaf.show.Canvas.image(image) as ax:
    pass

Prediction
Now that we have the image, we can instantiate an OpenPifPaf network and decoder.
net_cpu, _ = openpifpaf.network.Factory(checkpoint='shufflenetv2k16', download_progress=False).factory()
decoder = openpifpaf.decoder.factory([hn.meta for hn in net_cpu.head_nets])
Before we can process the image, we need to put it in a dataset that will take care of normalizing the color space and converting the image to a PyTorch tensor that can be processed by a neural network.
data = openpifpaf.datasets.NumpyImageList([image])
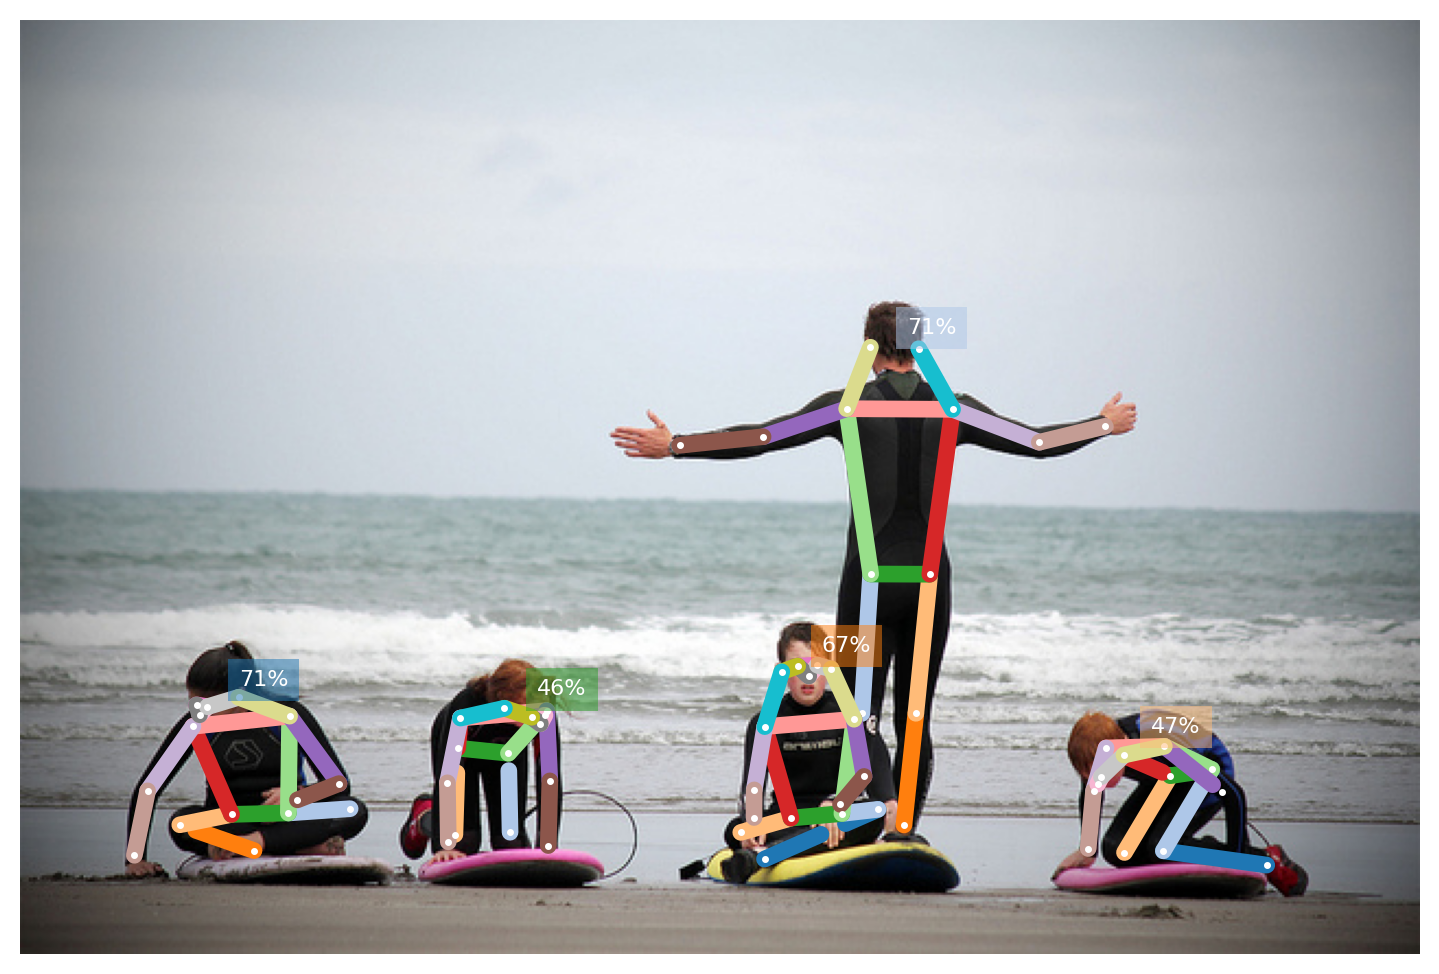
Finally, we can loop over the images in the dataset, run decoder.batch() to
obtain human pose predictions for one image and then visualize the predictions:
annotation_painter = openpifpaf.show.AnnotationPainter()
for image_tensor, _, meta in data:
    predictions = decoder.batch(net_cpu, image_tensor.unsqueeze(0))[0]
    with openpifpaf.show.Canvas.image(image) as ax:
        annotation_painter.annotations(ax, predictions)

This example is intentionally left to be quite basic. If you are interested to accelerate this process with a GPU or you have many images that should be pre-loaded in parallel, please have a look at the Prediction API or use the openpifpaf.video command line tool.
